Lecture 1A: Installation
Software and Troubleshooting
The goal of this lecture is to learn how to install and setup key software for use in the course.
TAs are available in class on Imagine Day from 9am-10:30am on Tuesday September 8th to aid with installation. I highly recommend you join if you haven’t used RStudio or GitHub before.
Note on PC vs Mac
You may encounter some material that implicitly assumes that you are using a Mac. For example, they might point you to a Terminal app, or ask you to use Unix commands like which or ls. Here is a cheatsheet that helps you convert between Windows command line (“DOS”) and Mac command line (“UNIX”). One thing that’s missing is the equivalent to Unix’s which; the closest equivalent in DOS is where.
Step 1: Install R and RStudio
R and RStudio The main programming language used in the class is R and our main IDE (a text editor with helpful features for writing and running code) is RStudio. The following instructions are adapted from Chapter 5 of Jenny Bryan’s “happy git” book.
Install (or update to) the latest release R on your computer (4.5.1 currently):
Install RStudio
Even if you already have R/RStudio, please update them to the most recent version!
Step 2: Configure Git and GitHub
Git is a version control software. Github is a cloud-based platform (built on Git) for sharing code.
Register a Github account at github.com (if you don’t already have one).
- Create a username that uses your actual name. Shorter is better! For example, mine is grcetmpk. See this for more information.
- You don’t need to download any apps.
Install Git (more info here)
- See if Git is already installed. For Mac OS, on the Terminal (Mac) type
which git. For Windows, go to Command Prompt and typewhere git. If you get an error ofgit: command not found, you do not have git installed yet. - Windows:
- Install Git for Windows (https://gitforwindows.org/)
- When asked about “Adjusting your PATH environment”, make sure to select “Git from the command line and also from 3rd-party software”. Otherwise, keep the defaults.
- Mac OS:
- Install XCode Command Line Tools by opening Terminal and typing
xcode-select --install(more info here) - In Terminal, enter
git config. Click install.
- Install XCode Command Line Tools by opening Terminal and typing
- See if Git is already installed. For Mac OS, on the Terminal (Mac) type
Configure Git: In RStudio, navigate to the Terminal or Shell (see below).
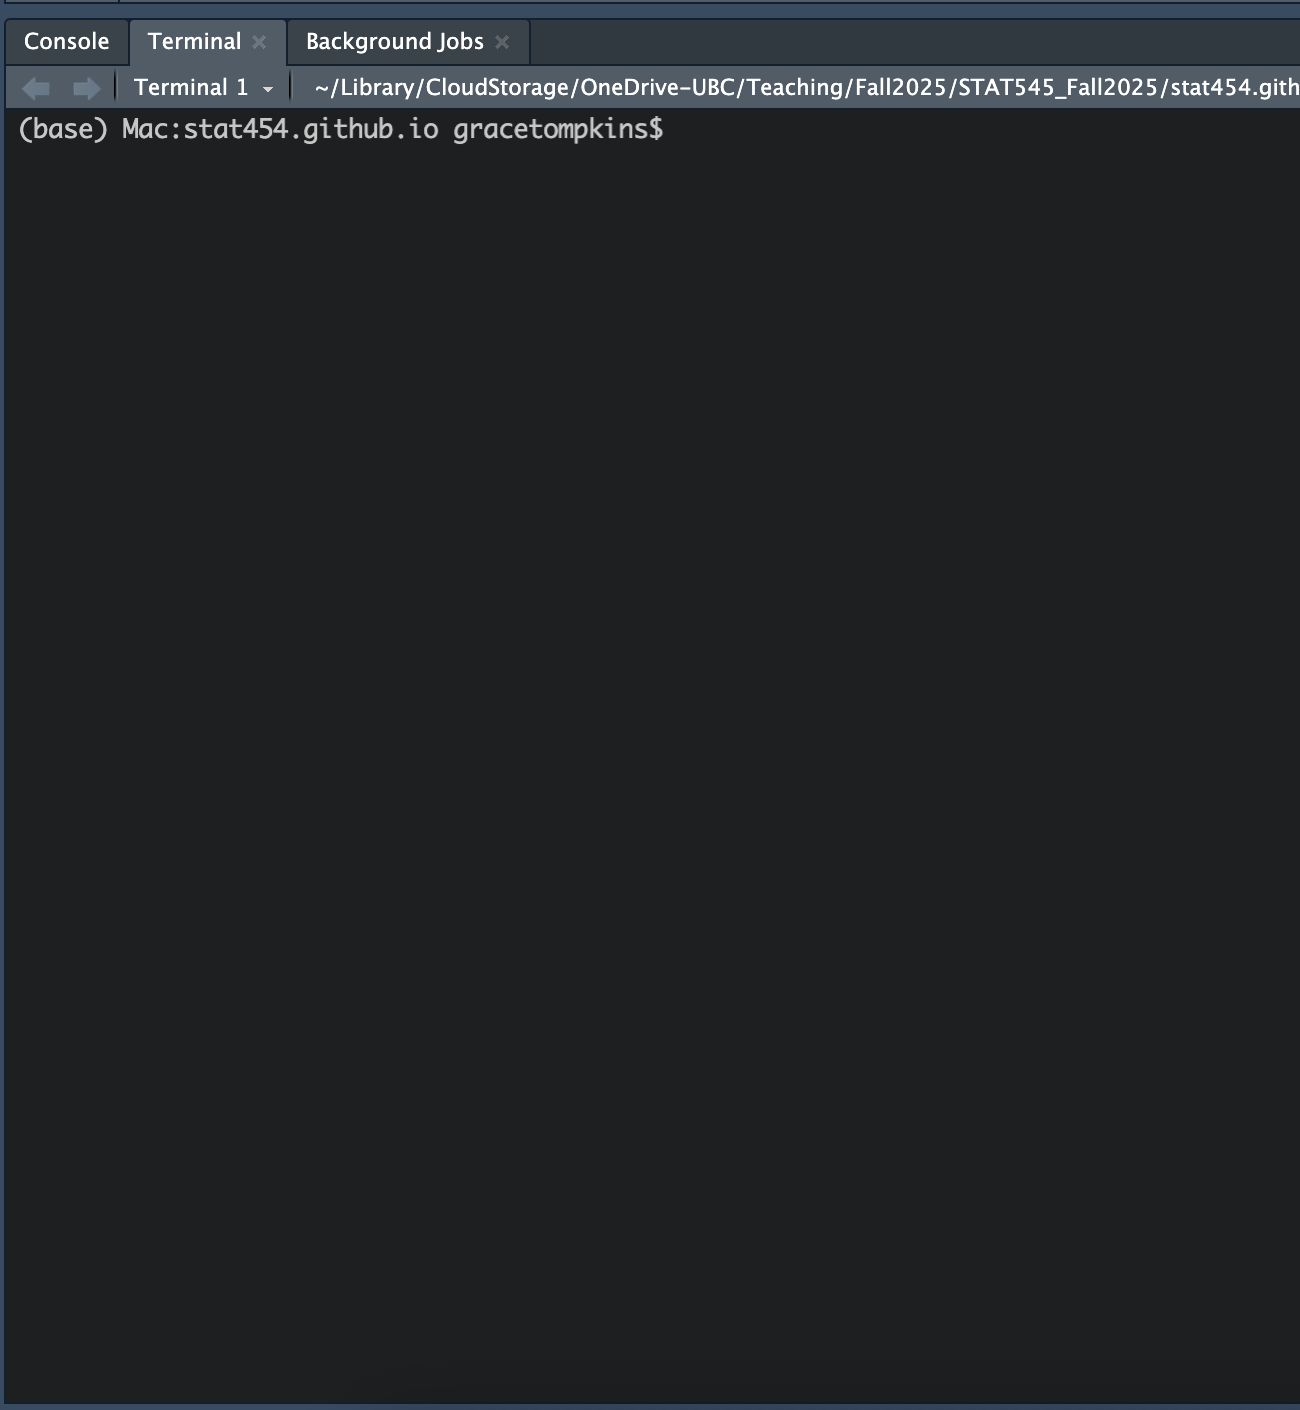
If using Windows, you will have a Shell, not a Terminal. within the Terminal (Mac) or Shell (Windows) (Tools > Terminal/Shell) do:
git config --global user.name "your_github_username"git config --global user.email "your_email_you_used_for_github@example.com"git config --global --listIf you are having issues, you could use the
usethispackage in R. See here.Get your Personal Access Token (PAT)
- Option 1: Go to to https://github.com/settings/tokens and click “Generate token”.
- Choose Classic Token
- Describe the token’s purpose in the Note field, e.g. “personal-macbook” or “Stat545Installation”.
- Select “repo”, “user”, and “workflow” for scopes.
- Ensure the token is valid for the entire semester (i.e., set the expiration for sometime in 2026).
- Save this token somewhere so you can use it again later, such as a password manager.
- Option 2: From R, execute
usethis::create_github_token()(you may have to install the usethis package first by first runninginstall.packages("usethis")).- Describe the token’s purpose in the Note field, e.g. “personal-macbook” or “stat545installation”.
- Ensure the token is valid for the entire semester (i.e., set the expiration for sometime in 2026). Save this token somewhere so you can use it again later, such as a password manager.
- Option 1: Go to to https://github.com/settings/tokens and click “Generate token”.
From R (in the console), run
install.packages("gitcreds")if you haven’t already.Execute
gitcreds::gitcreds_set()and enter the PAT that you just made when prompted.