#' @export
square <- function(x){
  x^2
}Lecture 9: R Packages
October 28, 2025
From this topic, students are anticipated to be able to build a basic R package, especially using the devtools package.
Write a DESCRIPTION file
Carefully curate package dependencies
Document functions and data using
roxygen2comments and tagsInclude tests with testthat in accordance with the R package infrastructure.
Add a license
Update an R package via semantic version-ing, NEWS, changelog.
Develop and build informative vignettes and a package README.
Video Lecture
Lecture Slides
Why R Packages?
As mentioned in the “functions” topic, your analysis will probably benefit from homemade functions: making functions forces you to think about your analysis in terms of its key computational parts, and makes for robust and readable code. Here are a few benefits that result by bundling these functions into an R package:
Organized documentation
Shareability
Built-in checks to ensure your package is working
Templates for organizing your work
Ability to attach data sets to share
The alternative is keeping the functions stored in separate files, and source()ing them into your analysis scripts, but this can become unwieldy. Plus, if your package becomes really nice, you might want to share it with the world!
We’ve been using various packages all semester, including dplyr. You can actually see the underlying package which is hosted on (pretends to be shocked) GitHub: https://github.com/tidyverse/dplyr.
For this topic, we’ll be making an R package like the toy square package, by following along with “The Whole Game” Chapter of “R packages”.
Tip
Many of the functions we call are from the devtools package in R. If you’re getting errors when trying to run some commands, try reloading devtools in the Console by running library(devtools).
Minimal Working Example
First, make a minimal viable product:
In any R console, install (if necessary) and load the
devtoolspackage in the console (do this every time you go to work on your package).- You will create a new R Project in the next step, so don’t worry about the location now.
Run
create_package()in the console (NOTE: alldevtoolsfunctions should be written in the console).- (this chooses better defaults than going through the File menu).
- Set the file path to be wherever you’d like the package to live. I’ll be saving it on my desktop in a (not yet created) folder called “powers” by calling
create_package("~/Desktop/powers") - Allow access if a pop-up appears, and RStudio will refresh to your new Project.
- If you look at the new folder that was created (mine is on my desktop), you’ll see an R Project, a DESCRIPTION file, a NAMESPACE file, and an R folder where all of your functions will be.
Create a simple function in a .R file, and save it in the R folder
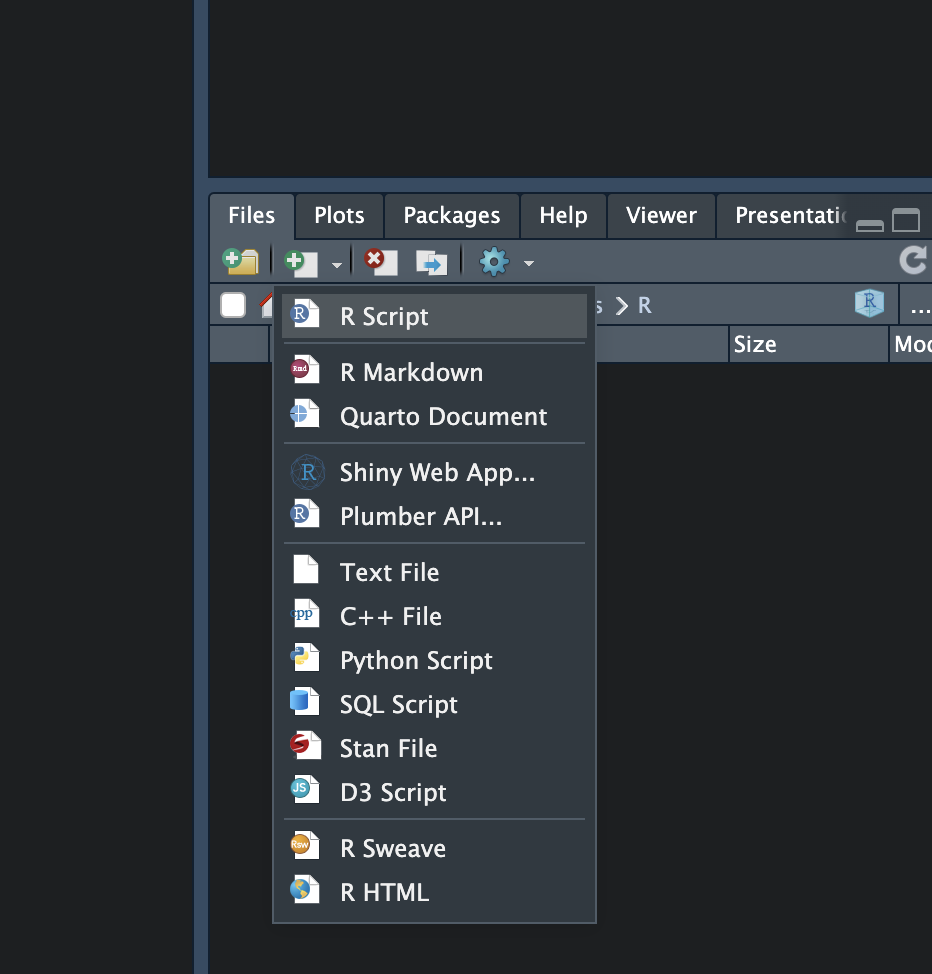
you can do this by navigating to the R folder on the right hand pane of your R Project under “Files”, opening the R folder, and selecting “New File” > “R Script”
Name the file “square.R”. We will be adding a simple function to file with an
#' @exportcommand to ensure it works properly with our package
In the console, reload
devtoolsand run thedocument()function.- Any function with the
#' @exporttag will be exported to the namespace file which contains a list of functions we want to make available in the R package.
- Any function with the
Run
load_all()in the console to test your package outIf R Restarted, then you need to reload
devtoolsbefore runningload_all().see if
square(5)returns the correct answer
Check that the package is intact: run
check()in the Console
Initialize Git
Run
use_git()to start using version control and hosting your package on Github:- Prefer to start your project on GitHub? Or locally? Either way, useful instructions for what to do can be found in “Happy Git with R” Part III.
Update the DESCRIPTION File
First, run
use_mit_license("Your Name")in the Console.Open the DESCRIPTION file and edit the Author information and Package Title.
Package: powers
Title: Easy computation of powers
Version: 0.0.0.9000
Authors@R:
    person("YOUR FIRST NAME", "YOUR LAST NAME", , "YOUR EMAIL", role = c("aut", "cre"))
Description: Calculates various powers of numeric data (squares, cubics, etc)
License: MIT + file LICENSE
Encoding: UTF-8
Roxygen: list(markdown = TRUE)
RoxygenNote: 7.3.2
Suggests:
    testthat (>= 3.0.0)
Config/testthat/edition: 3
Add a README
Run
use_readme_rmd()in the Console.Open the RMD file.
Do not delete the
knitr::opts_chunkchunk. Edit the information below it:# powers Package This is a minimal working example of my first R Package for STAT545! ## Installation Package installation can be done directly by calling `devtools::install_github("YOUR_GITHUB_USERNAME/powers")` ## Example This is a basic example which shows you how to solve a common problem:```{r example} library(powers) square(c(2,4,5)) ```Render the README every time with
build_readme().
Document the function
Navigate back to the function
squarewe made and click anywhere inside of the function. Select “Code” > “Insert roxygen skeleton”Edit the documentation for
param,returns, andexamples. You can also add a@titleand@description. Here’s what mine looks like:#' @title Square a single value or vector #' @description #' Squares a single numeric value or a numeric vector #' #' @param x, numeric #' #' @returns numeric, vector #' #' @examples #' square(5) #' square(c(4, 5, 6)) #' @export square <- function(x){ x^2 }Run
document()again in the Console.Run
check()again to make sure your examples are working.Install and Restart (
Ctrl + Shift + B(Windows & Linux) orCmd + Shift + B(macOS)) , or runinstall()in the console. Try loading the package and using it!
Expand Your Package
Now, let’s expand the R package that we just created:
Add Tests using testthat
Run use_testthat() in the Console (re-load devtools if R recently restarted)
This will create a folder called
testsand atestthat.Rfile which we will add our tests to.Run
use_test("square")in the Console. This will create a file called test-square.RUpdate it to include the following tests (and save the file!):
test_that("square works", {
  expect_equal(square(3), 9)
  expect_equal(square(0), 0)
  expect_equal(square(c(2,4)), c(4,16))
  expect_equal(square(c(3, NA)), c(9, NA))
})
Check all tests with
test()in the Console. This also happens withcheck().
Add Functions from Other Packages
We don’t really need to use functions from another package here, but practice declaring your general intention to use some functions from the dplyr namespace by running use_package("dplyr") in the Console only once. Now your package will be able to use the dplyr package functions.
Add Your Package to GitHub
Connect your local package to Github with use_github(). Say yes to committing and publishing the changes. Now your package should be on GitHub!
Make a Vignette
Make a vignette, a long-form document that serves as a detailed guide or tutorial for an R package:
use_vignette("powers")build_vignettes().
Include Datasets
To include data with the R package that exists within an R package, use use_data(R_OBJECT_HERE). This will create an R object in the data/ folder of your repository. Then document a string of its name in a new R script using a different collection of roxygen tags.
- For example, if I wanted to add the
mtcarsdataset to my package (which exists in R by default), I’ll add themtcarsdataset usinguse_data(mtcars). Then, I’ll create a file called “mtcars.R” in the R/ folder with the following:
#' Motor Trend Car Road Tests
#'
#' The data was extracted from the 1974 Motor Trend US magazine,
#' and comprises fuel consumption and 10 aspects of automobile design and
#' performance for 32 automobiles (1973–74 models).
#'
#' @source Henderson and Velleman (1981), Building multiple regression models interactively. Biometrics, 37, 391–411.

"mtcars"- If I wanted to add external data from a .csv file, I can read in the data into an R object in the console (ex:
housingdata <- read_csv("[pathtofile]/housingdata.csv")and then runuse_data(housingdata). This will createhousingdata.rdain the data/ folder in your project. Then, I can document the data by creatinghousingdata.Rin the R/ folder, as:
#' Artificiant Housing Data
#'
#' Includes made up data!

"housingdata"
Release your package:
-   Make a NEWS.md file with `use_news_md()` and add the main development notes.

-   Commit changes (in Terminal on RStudio)

    -   `git add .`

    -   `git commit -m "Adding Vignette:"`

-   Push Changes (in Terminal on RStudio)

    -   `git push origin main`

    -   (If you get an error, try going to the Git section in the top right hand pane and push from there)

-   Tag a release on GitHub.

    -   Recall *How to tag a release* from the Collaborative Project Milestone 1:

        1.  Navigate to the main page (root) of your GitHub repository.

        2.  There should be a small link on the right-hand-side of your page that says “Create a new release”. Click that.

        3.  For the tag version/name, put `1.0.0`

        4.  Choose a release title and description (this is less important).

        5.  Do **not** check off “This is a pre-release”.

6. Click “Publish Release”.Resources
Written material:
See “The Whole Game” Chapter of “R packages” for a concise overview of the entire process of making an R package.
The entire “R packages” book
See Writing R Extensions, the authoritative and comprehensive (but dry) resource for writing R packages.